Introduction
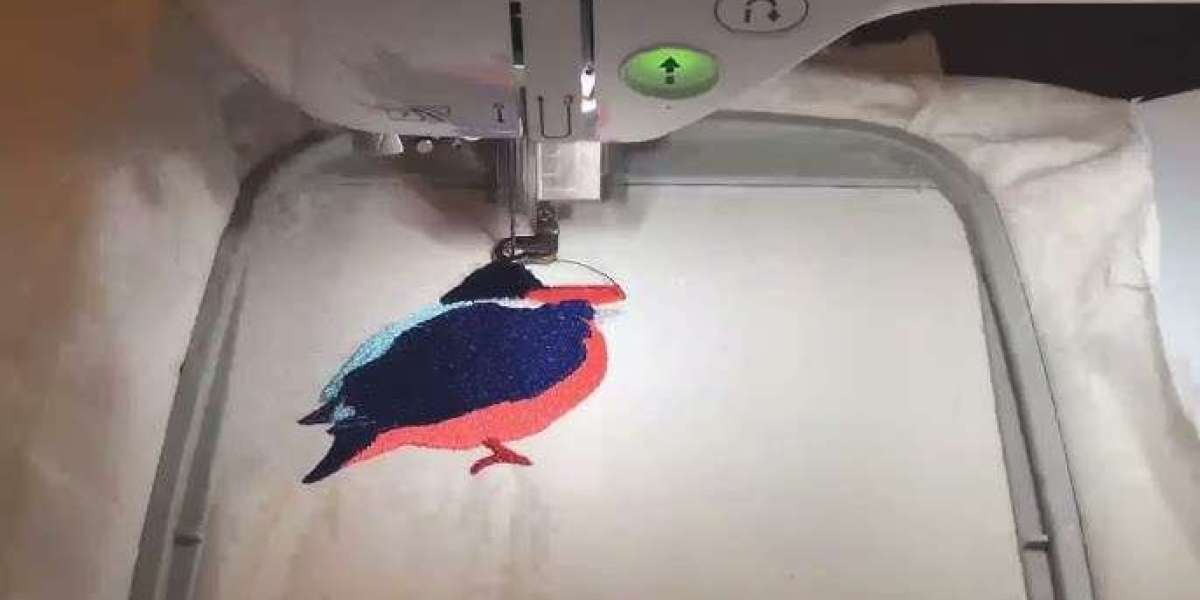
3D puff embroidery adds serious wow-factor to hats, jackets, and athletic wear. Unlike flat embroidery, puff designs rise above the fabric, creating a bold, textured look. But if you’ve ever tried puff embroidery digitizing yourself, you know it’s tricky—poorly digitized designs collapse, pucker, or lose their shape after washing.
In this guide, you’ll learn:
✔ How 3D puff embroidery works (and why digitizing is different)
✔ Step-by-step digitizing techniques for foam-backed designs
✔ Best fabrics and stabilizers to prevent flattening
✔ Fixes for common puff embroidery fails
Whether you’re a hobbyist or professional embroiderer, these tips will help you create high-quality, long-lasting 3D puff designs.
How 3D Puff Embroidery Works
The Key Difference: Foam + Stitch Density
A special foam sheet is placed under the design during stitching.
The foam compresses under dense satin stitches, creating a raised effect.
After stitching, excess foam is removed (either by heat or picking).
Why Digitizing Matters More for Puff
Too few stitches? The foam won’t compress enough—design looks flat.
Too many stitches? The foam tears, leaving gaps.
Wrong stitch type? The edges fray or collapse over time.
Digitizing Steps for 3D Puff Embroidery
Step 1: Design Prep
Use bold, simple shapes: Fine details get lost in puff.
Avoid small text: Letters under 0.4" tall won’t puff well.
Expand your design: Puff embroidery needs 10–15% more space than flat designs.
Step 2: Stitch Settings
| Element | Recommended Settings |
|---|---|
| Underlay | Zigzag (gives foam structure) |
| Satin Stitch | 3.0–4.0mm density (varies by foam) |
| Border | Double-run satin stitch |
| Pull Comp | 10–15% (prevents distortion) |
Step 3: Foam Selection
Low-loft foam (1.5mm): For subtle puff on polos/totes.
High-loft foam (3.0mm): For dramatic raised effects on hats.
Step 4: Stitching Order
Stitch the underlay (anchors the foam).
Place foam over the design.
Stitch the top satin layer (compresses foam).
Remove excess foam with tweezers or a heat knife.
Best Fabrics for 3D Puff Embroidery
Top Choices:
✔ Structured cotton twill (holds shape well)
✔ Nylon jackets (foam adheres cleanly)
✔ Wool blends (great for letterman jackets)
Avoid:
✖ Stretchy knits (puff collapses when fabric moves)
✖ Thin silks (foam shows through)
5 Common 3D Puff Problems (and Fixes)
1. Flattened Designs
✅ Cause: Not enough stitch density.
✅ Fix: Increase satin stitch density by 0.2mm increments.
2. Foam Peeling at Edges
✅ Cause: Weak border stitches.
✅ Fix: Use a double satin stitch outline.
3. Uneven Puff Height
✅ Cause: Inconsistent foam thickness.
✅ Fix: Use higher-quality foam (avoid cheap bulk rolls).
4. Thread Breaks
✅ Cause: Too many stitches piercing foam.
✅ Fix: Reduce density or switch to a sharper needle (e.g., Titanium-coated).
5. Foam Residue Visible
✅ Cause: Poor foam removal.
✅ Fix: Use a precision heat knife instead of pulling.
Software for 3D Puff Digitizing
Free Option: Ink/Stitch + Manual Adjustments
Works for simple shapes
Requires tweaking stitch density manually
Paid Options:
✔ Hatch Embroidery ():Hasbuilt−inpuffpresets.✔∗∗Wilcom∗∗(): Advanced foam compression controls.
When to Hire a Professional Digitizer
Consider outsourcing if:
Your design has complex curves (e.g., circular logos).
You’re stitching high-value items (e.g., team uniforms).
You need consistent bulk results.
Cost: $20–$60 per design (worth it for pro-grade puff).
Conclusion
3D puff embroidery turns ordinary designs into head-turning textures, but only with proper digitizing techniques. Remember:
✔ Use denser satin stitches than flat embroidery.
✔ Choose the right foam for your fabric.
✔ Test first—adjust density as needed.
Now grab some foam, fire up your machine, and start creating puff masterpieces!